
It amazes me how much money people spend on “gourmet” chili powders. They often come in some kind of kitschy packaging (like a burlap sack or a cowboy hat), with promises such as “Authentic!”, "World's Best", or “Award Winning!” emblazoned all over them. Inside the impressive packaging, you're likely to find a decidedly unimpressive plastic baggie of spices that are long past their prime.
Aside from being ridiculously overpriced these mixes have also probably been sitting on the shelf for months. Once spices have been toasted and ground, the esters, terpenes and other aroma compounds that make them so fragrant quickly escape leaving you with flat tasting red dirt that's certainly not worth the hard-earned cash you shell out for it.

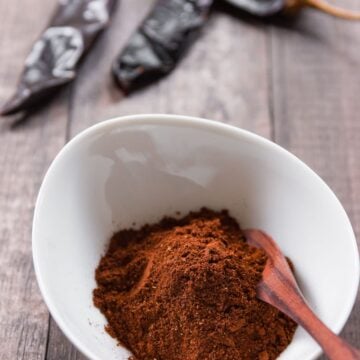
This is why I like to grind my own spice blends at home, in small batches. It’s cheap, simple, and the results will be far more potent than any pre-ground mix you’ll pick up in a store. Most importantly, making your own chili powder allows you to adjust the mixture to your liking, making it more deserving of the title “world’s best chili powder”.
Even if you don't care to change the blend of spices, you may like to know that it's quite easy to change the heat level of your chili powder. Since the heat that a chili pepper packs(even amongst the same cultivars) varies widely based on their growing conditions, changing the chili peppers don't always work. Luckily, most of the capsaicin(the compound that makes chili peppers hot) is concentrated in the light colored membranes that connect the seeds to the pepper. Scraping off these membranes(or not), we can greatly influence how spicy our chili powder will be.
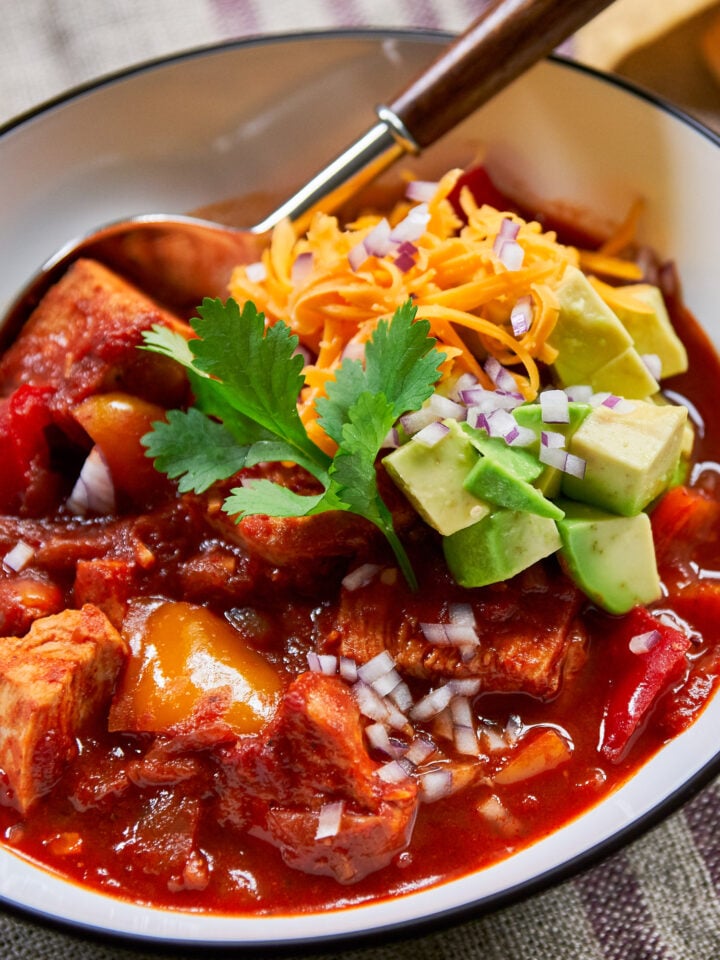
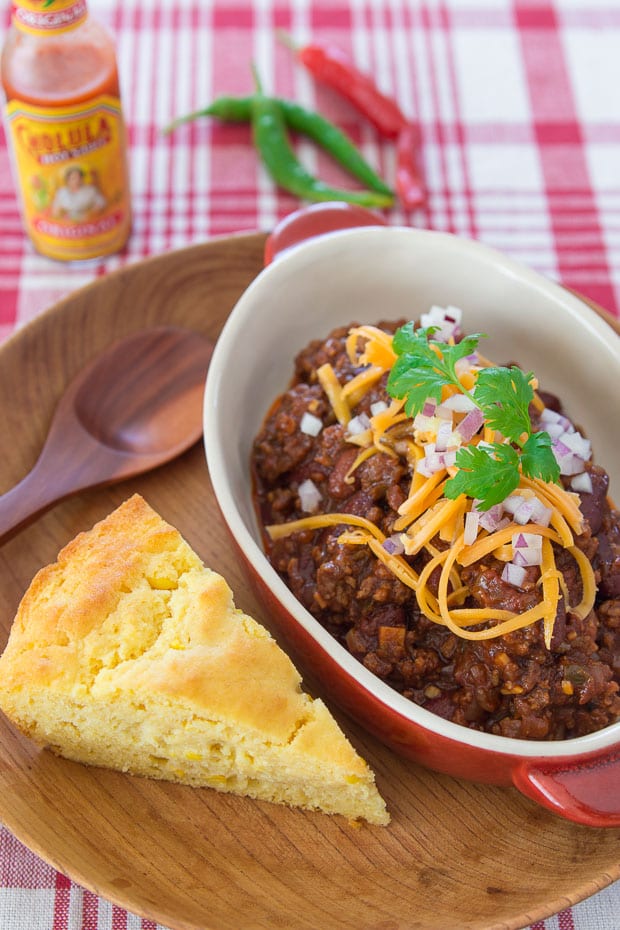
Once you've made some of this you might be wondering what you can can do with it, so here are some ideas. One of the most obvious uses is to make Chili, but this also makes for a killer Sloppy Joe, and if meat isn't your thing, my grilled Chili Lime Grilled Corn Salad is pretty good too.

📖 Recipe
Units
Ingredients
- 15 grams dried guajillo chiles (~3 large)
- 10 grams dried ancho chiles (~1 medium)
- 3 grams cumin seeds (~1 teaspoon)
- 1 grams coriander seeds (~½ teaspoon)
- .5 grams Mexican oregano (~½ teaspoon)
- .5 grams smoked paprika (~¼ teaspoon)
- .7 grams unsweetened cocoa powder (~¼ teaspoon)
- 1.5 grams onion powder (~½ teaspoon)
- .7 grams garlic powder (~¼ teaspoon)
Instructions
- Preheat the oven to 350 degrees F (175 C)
- Wipe the chili peppers with a damp paper towel.

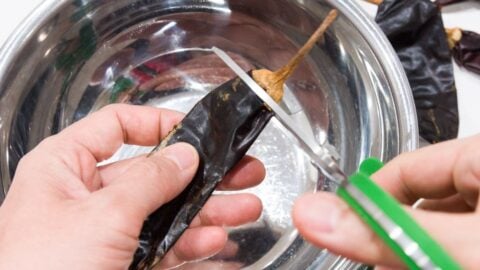
- Trim the tops off of the chili peppers with scissors.
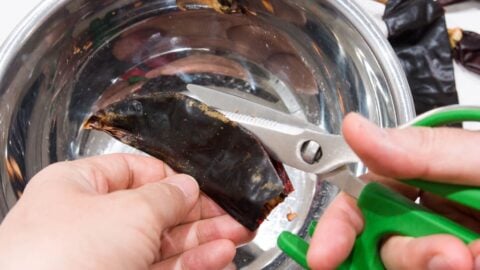
- Cut down one side of the chili pepper with the scissors to be able to spread it open.
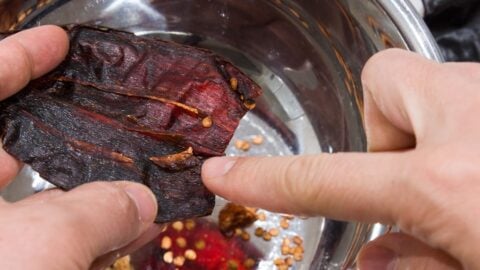
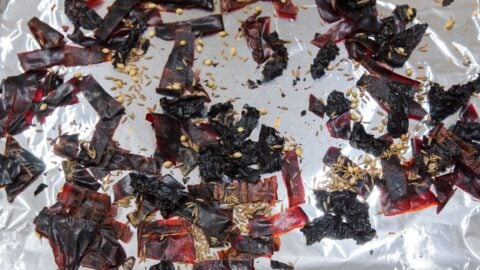
- Remove the seeds. If you want to make your chili powder less spicy, remove the light colored membranes that the seeds were attached to. In dried chilies the membranes may be stuck to the chili, so you'll need to scrape them off.
- Cut the chili into small pieces using the scissors and place on a baking sheet in a single layer along with the cumin seeds and coriander seeds.
- Roast the chilies and spices in the oven until a fruity almost chocolate-like aroma comes from the oven (about 1-2 minutes). Be careful not to burn the chiles or or your chili powder will end up bitter. Remove the roasted chili peppers from the oven and let them cool.
- Put the chili peppers and spices along with the remaining ingredients in a spice grinder and grind until it forms a fine powder. Depending on the size of your grinder you may need to do this in batches.
- Store in an airtight glass bottle until you are ready to use your chili powder.

Marc Matsumoto says
Ideally you'd use it right away, but if you keep it in an airtight container it should stay fragrant for a few months, even longer in the freezer.
Marc Matsumoto says
Yumm, I grind cacao nibs into my chili powder sometimes:-)
Marc Matsumoto says
Depends on how dry they are to begin with. Usually only takes 5-10 min if they're relatively fresh "dried" chiles, shorter if they are older and more dry to begin with.
Brian C says
Would really like to make my own
Brian C says
Would really like to make my own
Joyce Paterson says
It's a shame there is a print icon at the recipe that does not work. All pages (and pictures) must be printed to get a copy of the recipe.
Marc Matsumoto says
Hi Joyce, I'm sorry to hear you're having troubles getting the print function to work. Does it work for you on other pages on this site? What exactly happens when you click the print icon? Also, what device, OS, and browser are you using? Hopefully we can get to the bottom of this for you.